Getting started
From the download to a trance idea playing on the synths in your DAW. Short steps, one screen at a time. You don't need to know any music theory.
What you need
A Mac running macOS 11 or later, with Apple silicon or Intel. That's it. A DAW is optional: TranceTools has its own built-in sound, so you can start writing ideas before you open anything else.
If you do use a DAW, TranceTools works as a VST3 or AU plugin inside it, or as an app alongside it. Bitwig Studio and Ableton Live get the closest link.
Install it
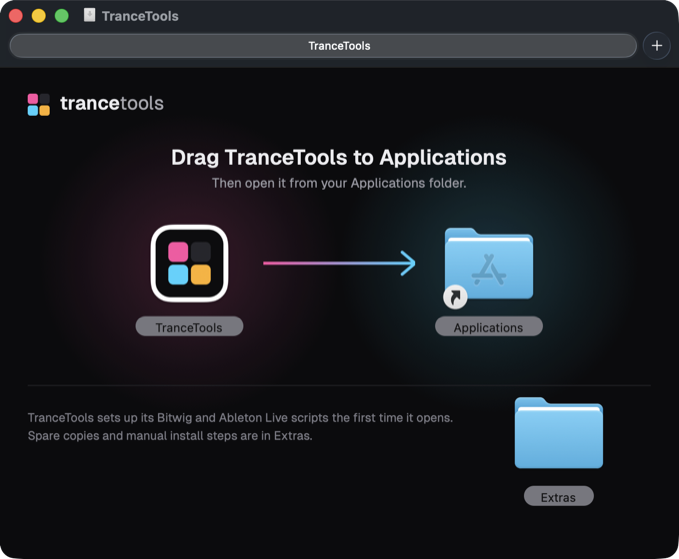
- Open the TranceTools .dmg you downloaded.
- Drag TranceTools into Applications.
- Open it from Applications.
The first time it opens, the app installs the TranceTools plugin (VST3 and AU) and the scripts for Bitwig Studio and Ableton Live for you. You don't need to copy anything by hand.
Activate it
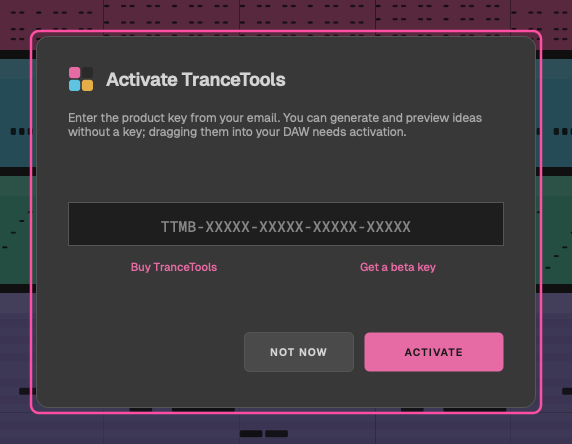
Click ACTIVATE in the top bar (or choose TranceTools > Licence…), paste the product key from your email and click Activate.
You can generate ideas and listen to them without a key. Dragging ideas into your DAW and exporting files need activation.
Tip: one key works on two Macs. Moving to a new one? Deactivate the old Mac first, in the same panel, to free its seat. More in Licence, updates and your files.
Simple or Pro
TranceTools has two views of the same idea:
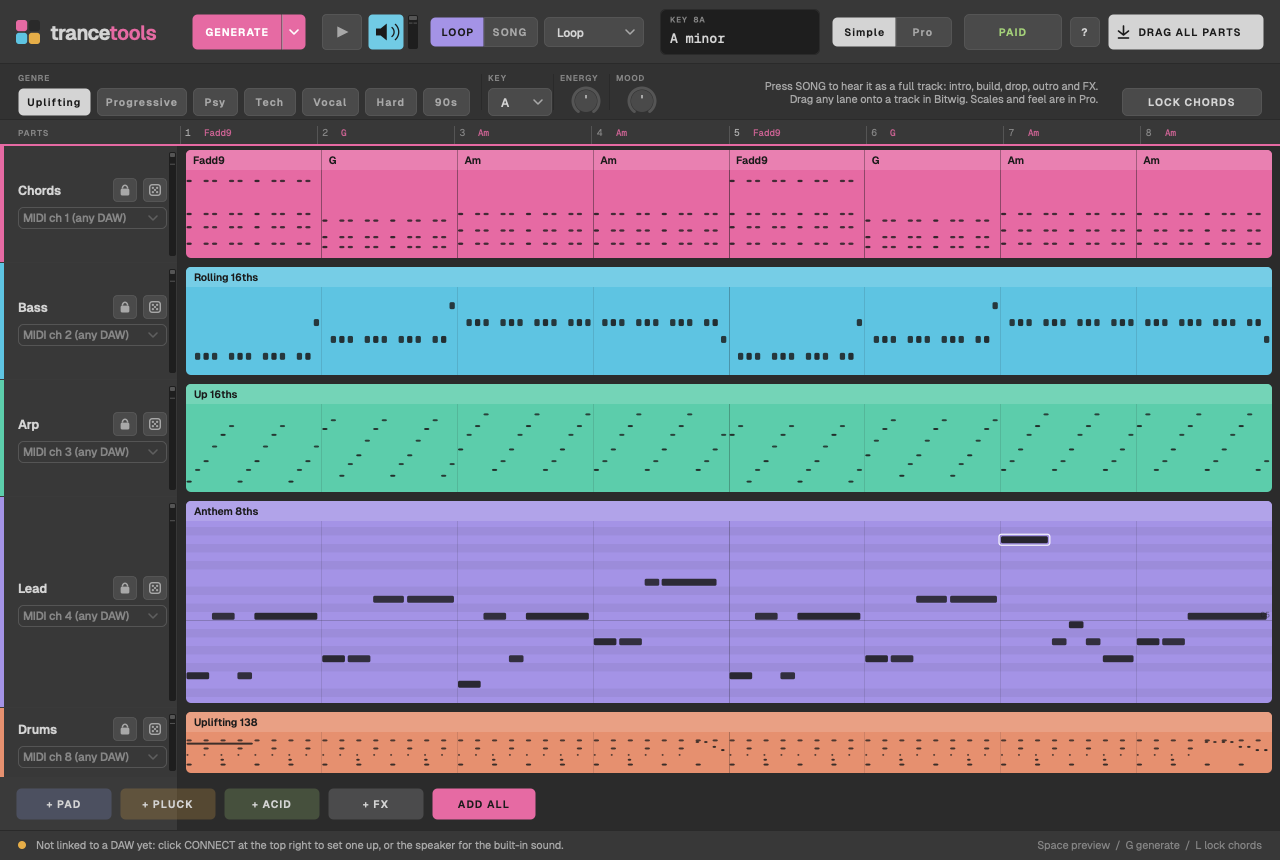
- Simple: Generate, a genre, the key, Energy and Mood, and a lane per part with its lock and re-roll buttons. Start here.
- Pro: every control, with the selected part's settings in an inspector on the right.
Switch any time with the Simple and Pro buttons in the top bar. Nothing is lost when you switch.
Pick a genre
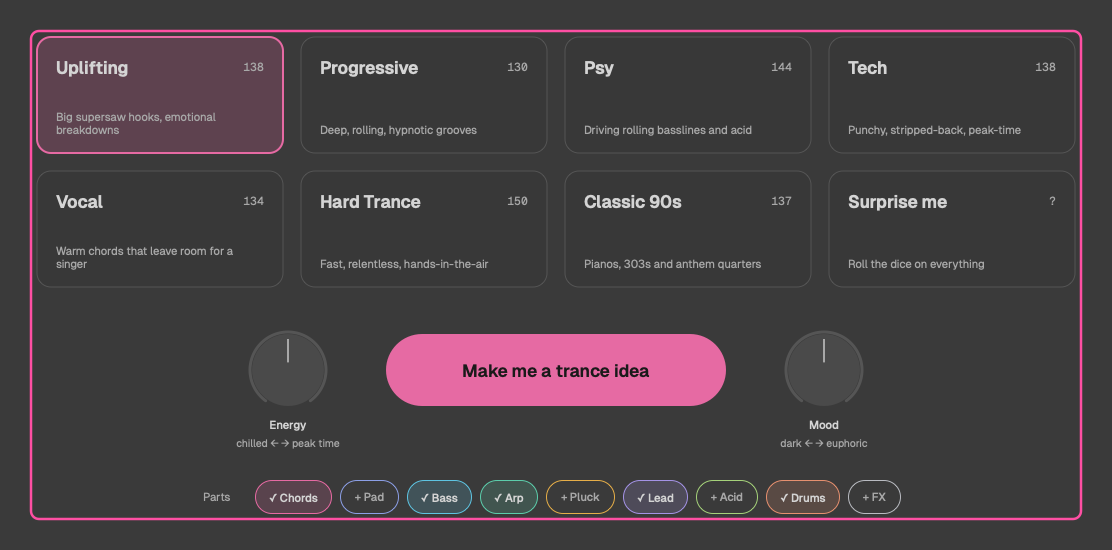
TranceTools opens on the launch screen: "What are we making tonight?"
- Click a genre: Uplifting, Progressive, Psy, Tech, Vocal, Hard Trance or Classic 90s. Or Surprise me.
- Set Energy (sparse to busy) and Mood (dark to euphoric). The middle is a fine place to start.
- Choose your parts. Lead, Chords, Bass, Arp and Drums are on to start with; you can add the rest later.
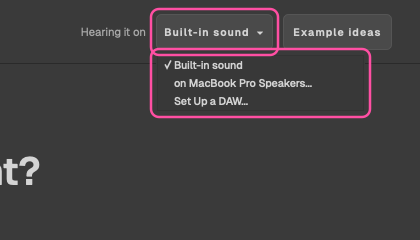
- Under Hearing it on, choose your DAW if it's open, so the parts play your own synths. The built-in sound is there to preview with if it isn't.
Generate
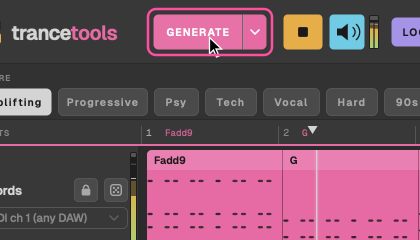
Click Make me a trance idea (or press Return). TranceTools writes the idea and starts playing it straight away.
Don't like it? Click Generate in the top bar, or press G, for a new one. Keep going until something catches your ear. ⌘ Z takes you back to the one before.
Want something further from where you are? The ▾ beside Generate has Generate everything (⇧ G), which rolls a new key, tempo, chords and feel in the same genre, and Surprise me, which picks a genre too. Anything you've locked stays. More in Generate and New Chords.
Tip: want to hear what TranceTools can do first? Example ideas on the launch screen opens 24 ready-made ideas, three or more per genre. Change anything and ⌘ S saves your own copy. See Example ideas.
Play it on your own synths
This is what TranceTools is for: each part plays the synth you've already chosen on its own track in your DAW, so the idea sounds like your track from the first bar.
Under each part's name in its lane, in Simple and Pro, is where it plays. How you link a part depends on how you run TranceTools:
- The app, linked to Ableton Live or Bitwig Studio: choose the part's track from the menu under its name. Tracks named after a part ("Bass", "Lead", "Pad" and so on) are picked for you.
- The app, with any other DAW: the lane shows, for example, MIDI ch 4 (any DAW). Set a MIDI track's input to the TranceTools port and the part's channel, and turn on monitoring. Chords is channel 1, Bass 2, Arp 3, Lead 4, Pluck 5, Pad 6, Acid 7, Drums 8 and FX 9.
- The plugin: the lane shows, for example, MIDI out, ch 4: each part comes out on its own MIDI channel, the same numbers. Route that channel to your synth's track in your DAW.
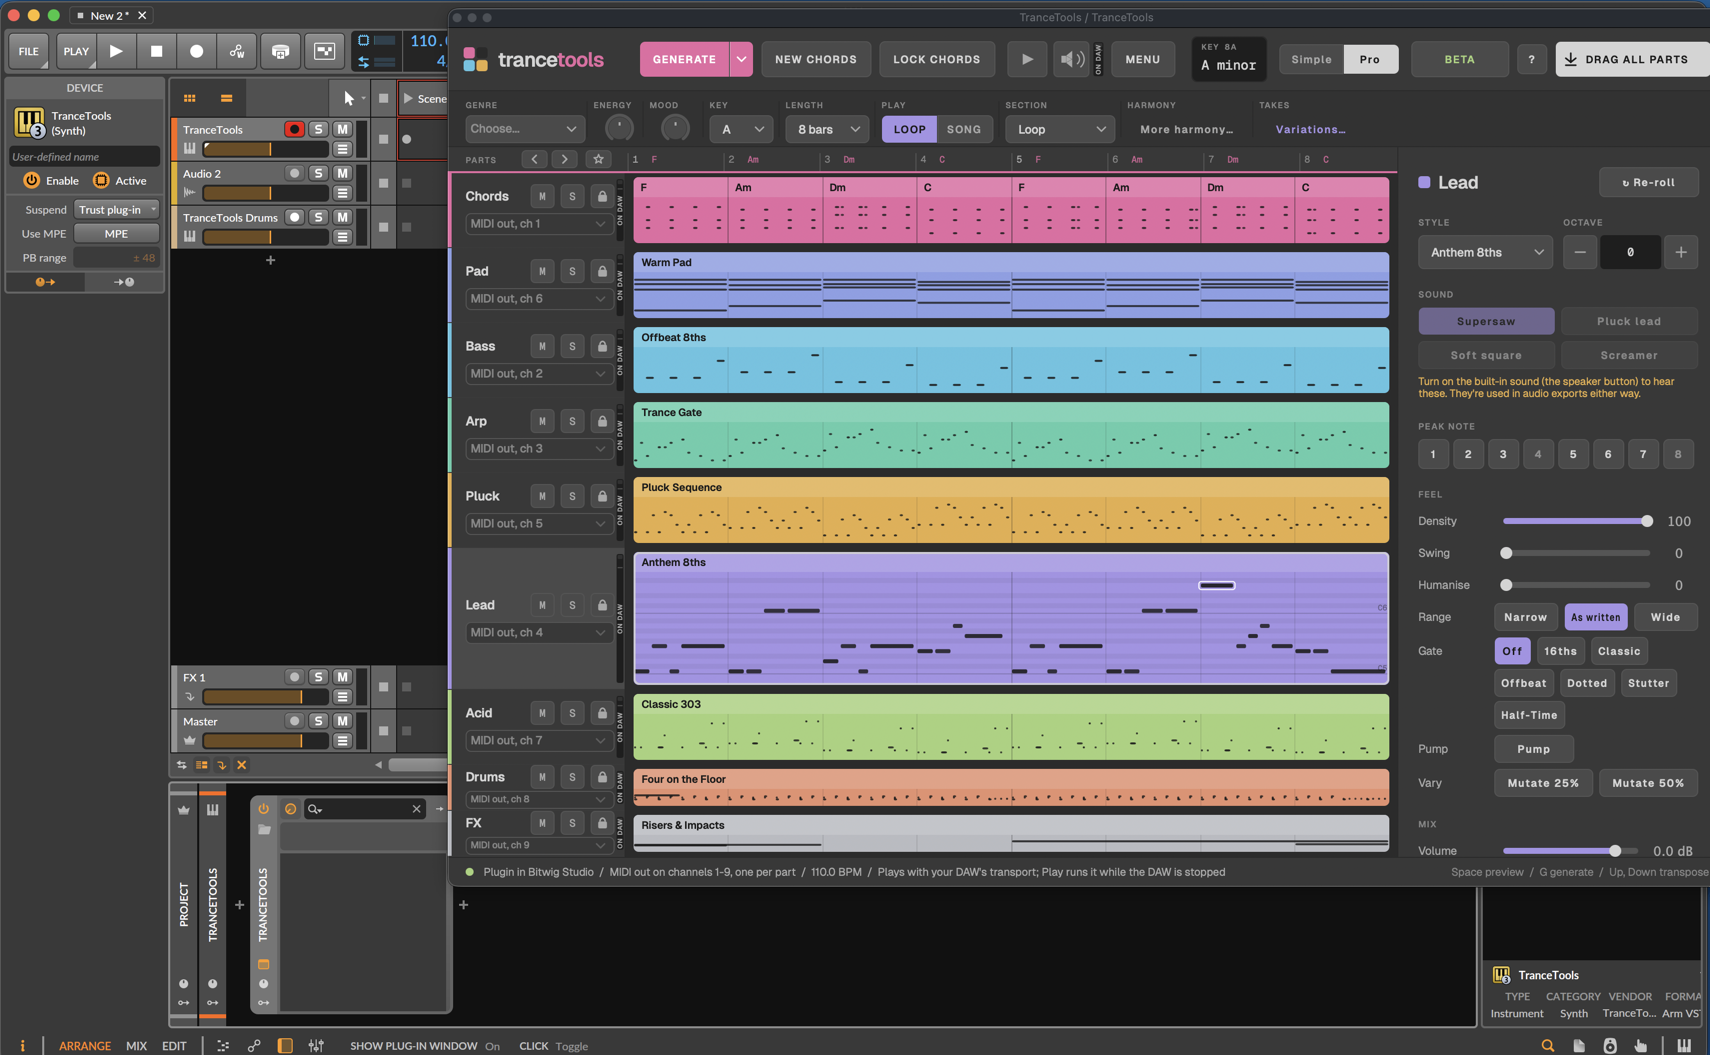
Linking Live or Bitwig takes a minute, once. See Set up your DAW below. We test TranceTools in Ableton Live and Bitwig Studio; other DAWs that load VST3 or AU plugins work the same way.
The built-in sound, for reference
Not in your DAW yet? Turn on the speaker button in the top bar and every part plays through TranceTools' own sounds, on your Mac's default output, so you can hear an idea straight away. It's there for previewing and for quick audio exports, not to replace your synths. To use your audio interface or headphones, right-click the speaker and choose Audio Output….
Lock the chords
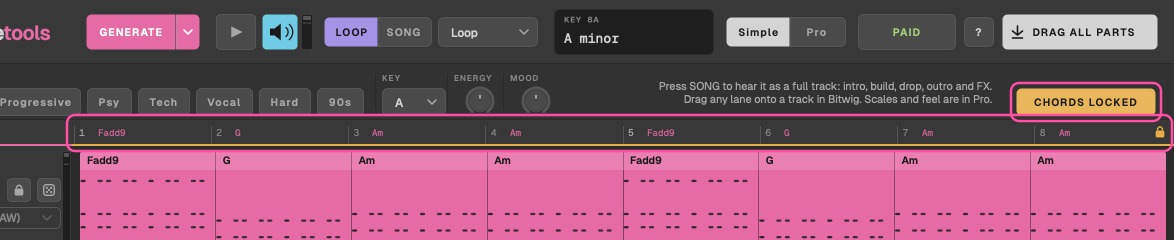
Found a chord progression you love? Click Lock Chords, or press L. Now Generate keeps those chords and writes new parts over them, so you can try different leads, basslines and arps on the same progression.
Re-roll one part
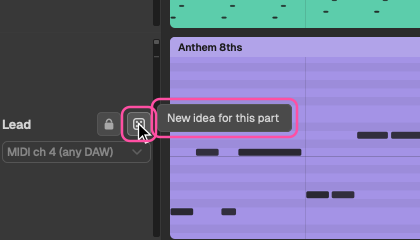
Like everything except the lead? Click the Lead lane's re-roll button for a new one. The rest of the idea stays put.
To keep a part you love while you generate, click its lock. In Pro, the re-roll and lock buttons are in the inspector and on each lane's header.
Hear the whole song
Click SONG next to the transport. Your idea plays as a full track: intro, breakdown, build, drop and outro, with risers and impacts. Click LOOP to go back.
To hear just one section, choose it from Hear As, for example Breakdown or Drop.
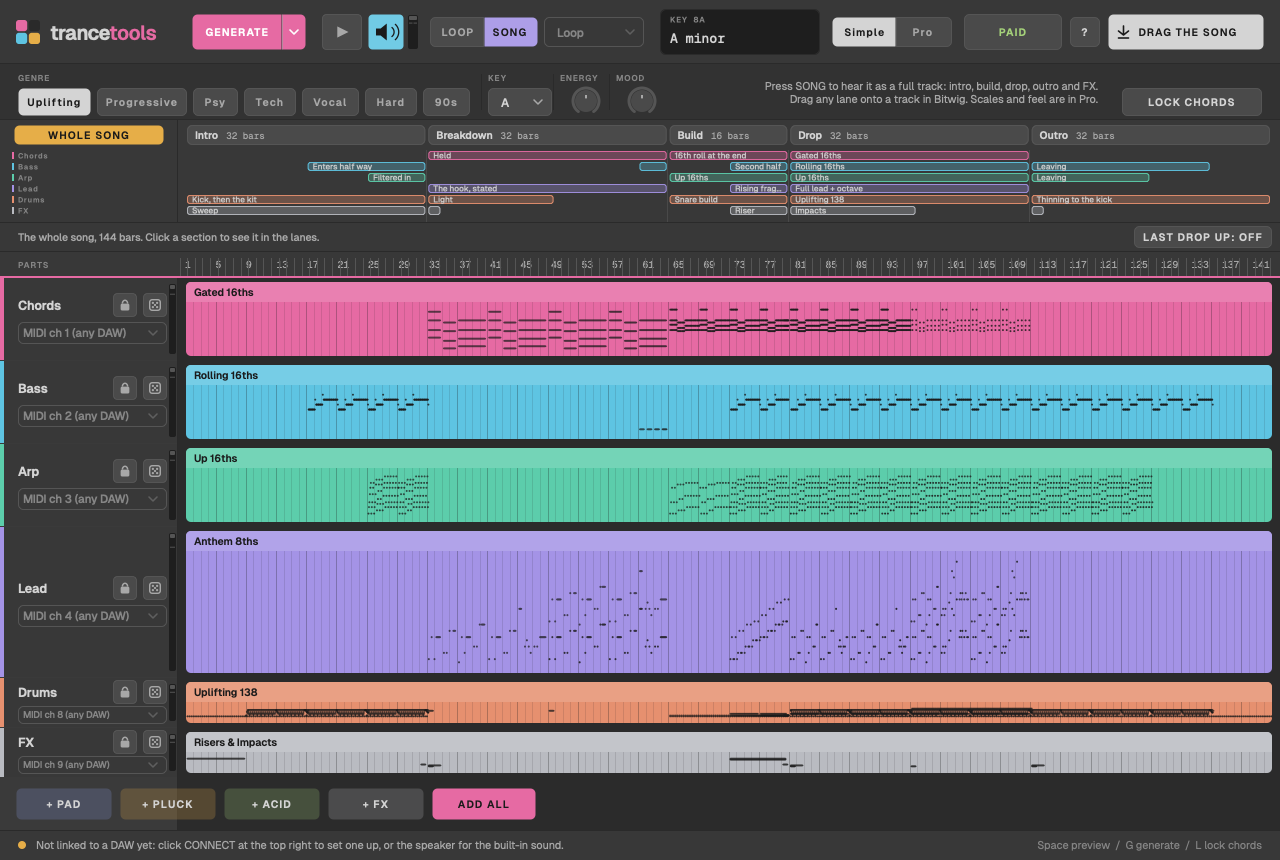
Tip: in Song, click a section to see it in the lanes, and re-roll it for a new take. More on the song timeline.
Save the idea
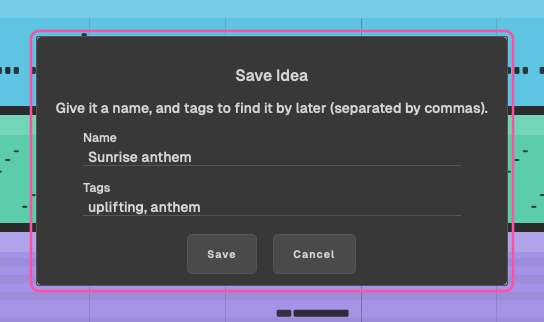
Press ⌘ S (File > Save Idea). Give it a name, or keep the one it suggests (its chords and key), add tags if you like, and save.
Press ⌘ O (File > Open Idea) to find it again. Saved ideas are shared between the app and the plugin.
Drag it into your DAW
Drag any lane onto a track in your DAW and it drops in as a MIDI clip. Drag All drops every part at once, as one multi-track MIDI file.
Drag All drags what you're hearing: the loop, one section, or the whole song. Its label tells you which, for example DRAG THE SONG.
Each clip is named after the part, key and tempo, like TT Lead - Am - 138 in Live, so you can tell them apart.
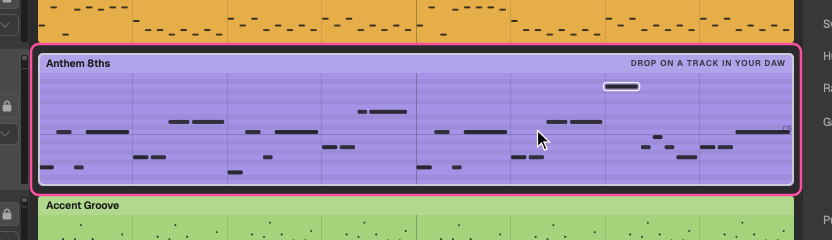

Note: dragging needs activation. If a lane says ACTIVATE TO DRAG, see Activate it.
Set up your DAW
You can use TranceTools in any DAW that loads VST3 or AU plugins. Here's the quickest set-up for each. The full details are in Plugin, app and DAW set-up.
Ableton Live
As the app, linked to Live (Live 10, 11 or 12):
- Open TranceTools, then restart Live.
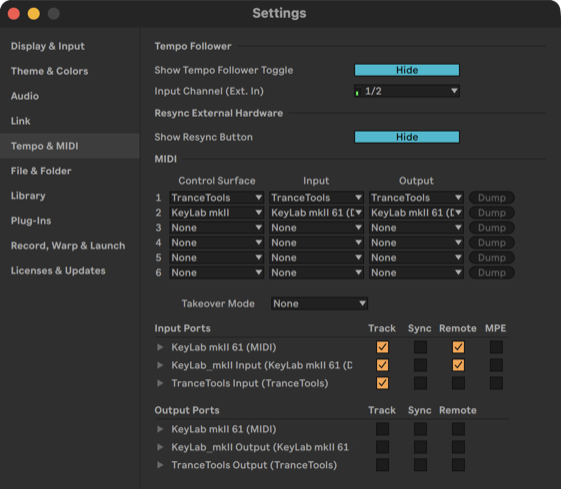
- In Live's Settings > Tempo & MIDI, choose TranceTools as a Control Surface, and set its Input and Output to TranceTools.
- In the Input Ports list, make sure Track is on for the TranceTools input.
The status bar says Linked to Live, and each part picks a track whose name matches (a track called "Bass" for the bass, and so on). Pick another from the menu under the part's name.
Bitwig Studio
As the app, linked to Bitwig: open TranceTools, then Bitwig. Bitwig finds the TranceTools controller by itself. If it doesn't, go to Settings > Controllers > Add Controller > TranceTools and set both ports to TranceTools.
As a plugin: add TranceTools to an instrument track. It plays in time with Bitwig's transport.
Logic Pro and FL Studio
TranceTools is a standard VST3 and AU plugin. We test it in Ableton Live and Bitwig Studio; other DAWs add it the same way, as an instrument. In Logic Pro, choose AU Instruments > TranceTools on a Software Instrument track. In FL Studio, add it as a VST3 instrument from the plugin browser. Turn on the speaker to hear the built-in sound, and drag parts from the lanes into your project. More in Logic Pro and FL Studio.
GarageBand
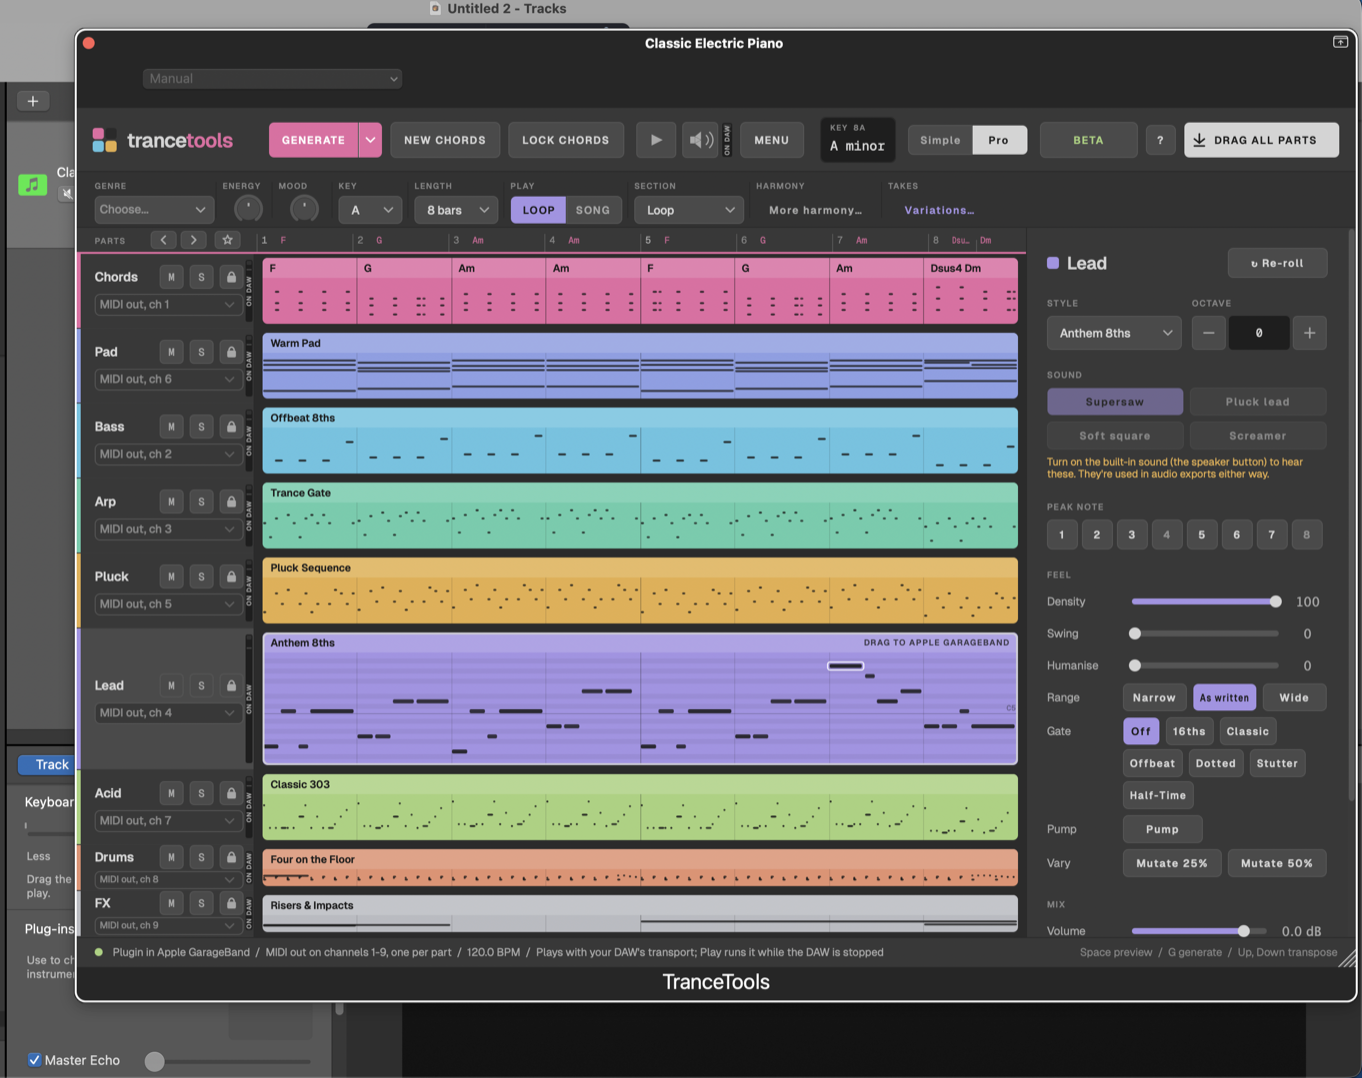
Add a Software Instrument track and choose Plug-ins > AU Instruments > TranceTools. It loads without asking you to lower your security settings, and sees the same licence and saved ideas as the app.
Setting up later
Skipped this at the start? In the launch screen's Hearing it on menu, or the speaker button's menu, choose Set Up a DAW…. The Help menu can reinstall the plugin and the Bitwig and Live scripts.
Or export files
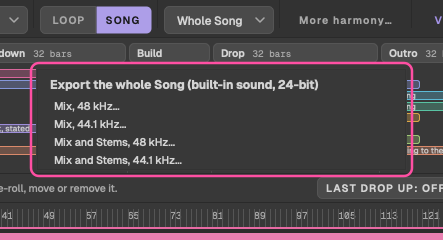
Dragging MIDI onto your own synth tracks is the main way out. The File menu also has three exports:
- Export Variations: 8, 16 or 32 new takes on the idea as MIDI files.
- Export Song as WAV: the whole song through the built-in sound, as a mix or a mix with a stem per part. A quick reference bounce for sharing a sketch.
- Export Audio Stems (WAV): the loop or section you're on through the built-in sound, one WAV per part plus the mix.
Where next
- The window: every button, lane and menu explained.
- Generating ideas: genres, Energy and Mood, locking and re-rolling.
- Sections and the song timeline: from loop to full track.
- How to make uplifting trance: turn the idea into a finished track.
Questions
Do I need a DAW?
TranceTools is made to play the synths in your DAW, so that's where it's at its best. Without one, the built-in sound plays every part as a reference, and Export Song as WAV gives you an audio file to listen back to.
Can I try it before activating?
Yes. Without a key you can generate ideas and hear them. Dragging into your DAW and exporting files need activation.
Does it work on Windows?
Not yet. TranceTools 1.0 is for Mac only (macOS 11 or later, Apple silicon or Intel).
Can I edit the notes?
Not in TranceTools, on purpose: your DAW already has a piano roll you know. Drag the part in and edit it there. You can re-roll a part, a bar or a range of bars in TranceTools.
Why don't the Sound chips change my synth?
They only change TranceTools' built-in sound. When a part plays on a DAW track, its sound comes from the synth on that track, and the chips say so.