The window
Arrange fits on one screen: your tracks down the left, the song across the top, and what will be written to Live along the bottom.
At a glance
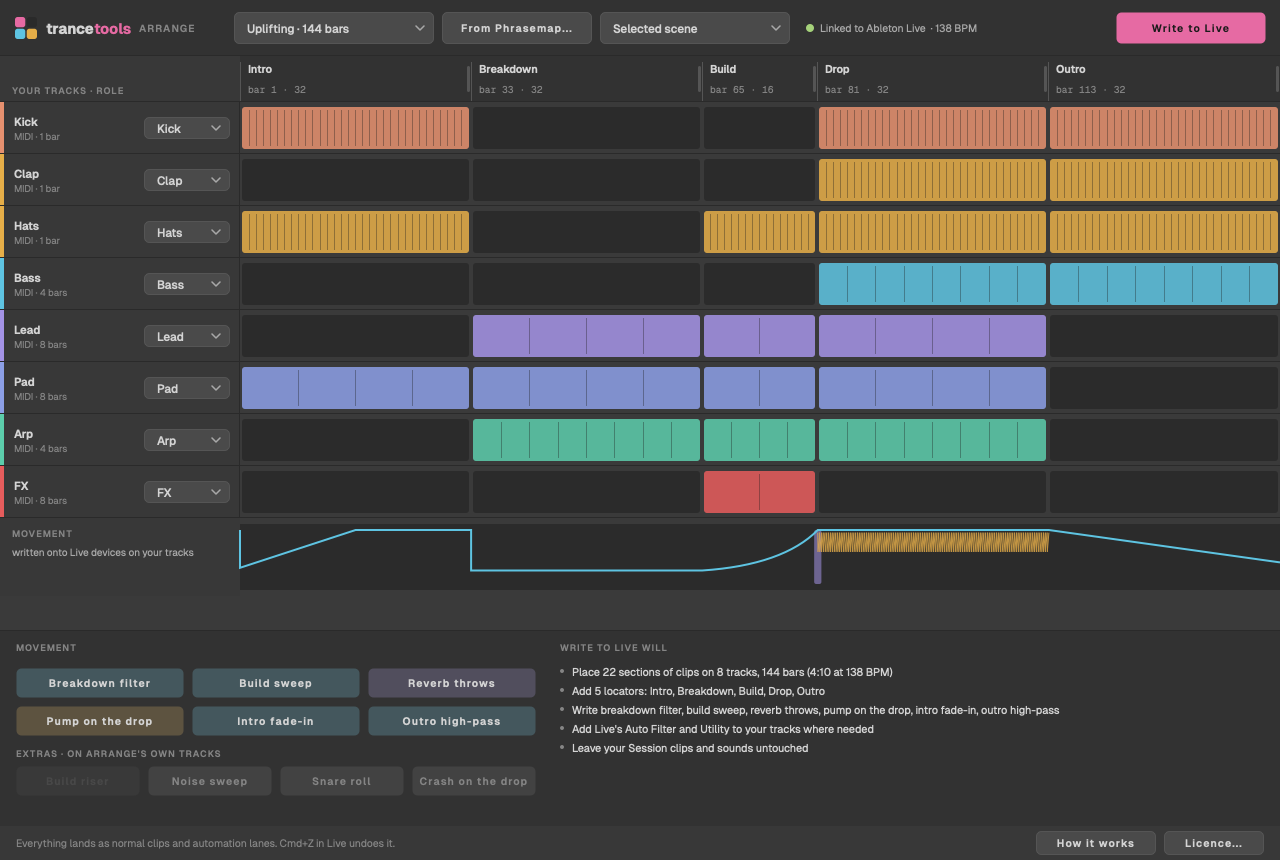
Top to bottom: the top bar, the ruler with your sections, your tracks and the grid, the movement lane, and the moves, extras and summary, with the footer under them all. The window can be resized; the controls in the top bar narrow a little in a smaller window.
The top bar

| Control | What it does |
|---|---|
| Layout | The song's sections: a genre (with its length in bars), a layout from Phrasemap, or Your own. See Layouts. |
| From Phrasemap… | Opens a MIDI file or Ableton set exported from Phrasemap and uses its sections. |
| Scene | Which row of Session View the clips come from: Selected scene (the one selected in Live), or a scene by number and name, with how many clips it holds. |
| Link status | A green dot and Linked to Ableton Live, with Live's version and your set's tempo, or a red dot and Not linked to Live. |
| Write to Live | Writes the arrangement into Live's Arrangement View. Greyed out until there's something to write; its tooltip says why. |
The ruler
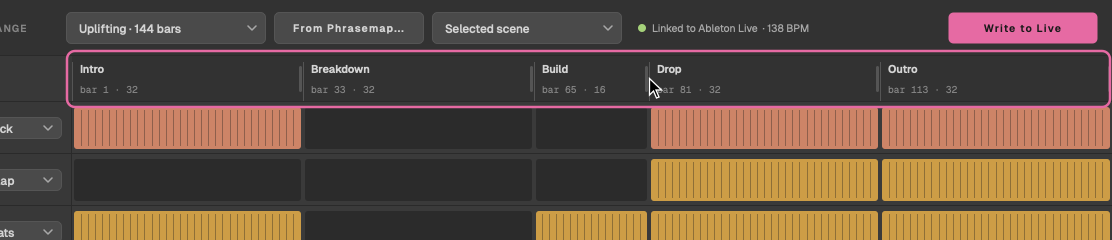
Each section shows its name, the bar it starts on and its length, for example Breakdown over bar 33 · 32. Hover over a section for its bars, such as Breakdown: 32 bars, bars 33 to 64.
- Drag a section's right edge (the small handle) to change where it ends.
- Click a section to rename, split, join or remove it.
Both are covered in Your own layout.
Your tracks and the grid
Under Your tracks · Role, each track in your set that has a Session clip gets a row: its name, whether it's an audio or MIDI track, how long its loop is, and a role menu. The coloured stripe on the left is the role's colour.
To the right, the grid shows which sections each track plays in. A lit cell plays: the thin lines inside it are where each copy of the loop starts. A dark cell is silent. Click a cell to switch it. A small white dot marks a cell you've changed from what the role would do.
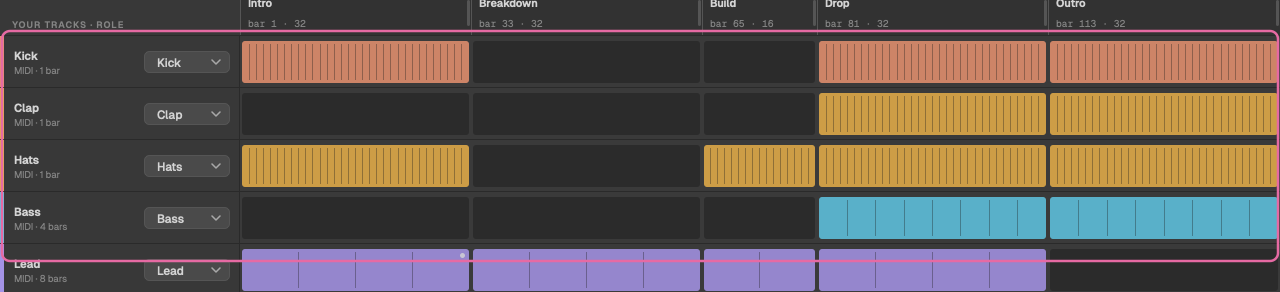
With more tracks than fit, the rows scroll. More in Tracks and roles.
The movement lane
Under the grid, a preview of the automation Arrange will write, across the whole song: the cyan line is the filter (closing in the breakdown, sweeping open through the build, the intro fading in and the outro high-pass), the amber ripples are the pump in the drops, and a violet mark before each drop is a reverb throw. It changes as you switch moves on and off.

Moves, extras and the summary
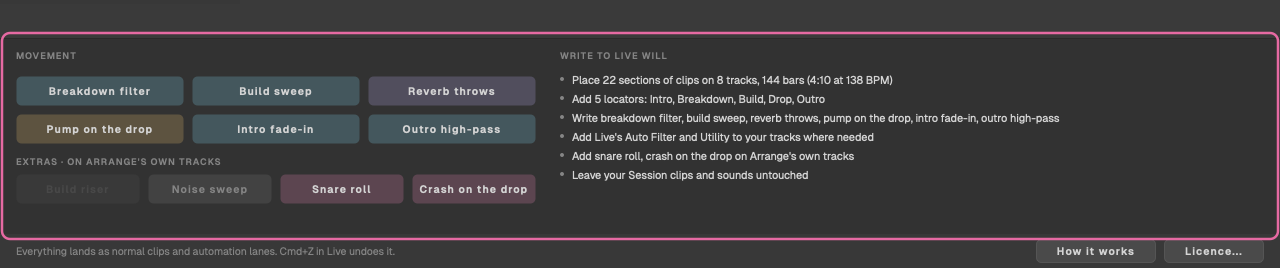
- Movement: six buttons, all on to start with. A lit button is written; click one to leave it out.
- Extras · on Arrange's own tracks: four buttons, off to start with: Build riser, Noise sweep, Snare roll and Crash on the drop.
- Write to Live will: what a write will do, in plain words, updated as you change things.
See Movement and extras and Writing to Live.
Before it's linked, and an empty set
Until Live is linked, the grid area says Waiting for Ableton Live, with the steps still to do and the Install the Live script button.
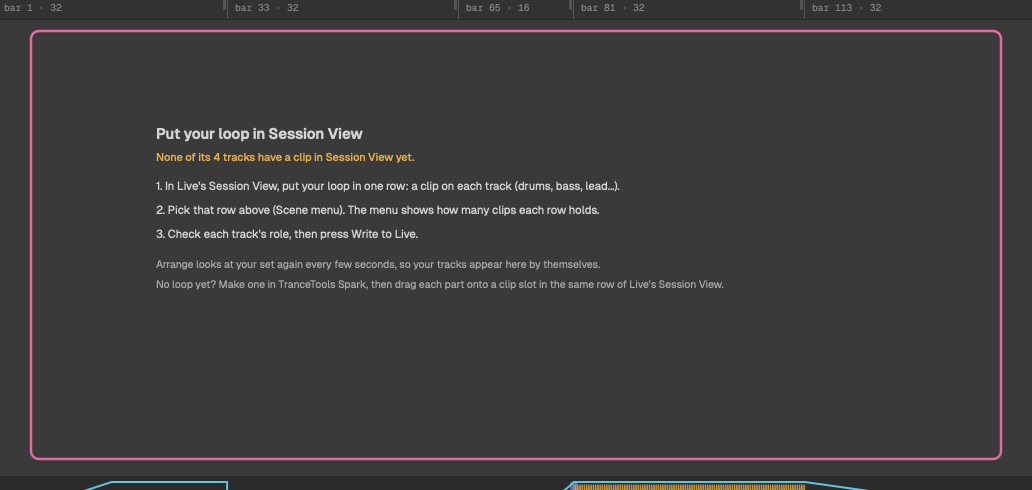
Linked to a set with nothing to arrange, it says Put your loop in Session View, with the reason (for example, None of its 6 tracks have a clip in Session View yet.) and three steps.